What is required?
- A device on which Homebridge can be installed (Windows, Linux, Mac, Raspberry Pi). Various installation instructions are available here.
- air-Q Device (Shop)
- air-Q Homebridge-Plugin (You can find it here)
Step 1: Adding the Homebridge repository via the terminal
To open a terminal window, click on the Terminal-Symbol at the top of the screen or select Accessories and then LXTerminal in the menu.

Adding the Homebridge repository GPG key:
curl -sSfL https://repo.homebridge.io/KEY.gpg | sudo gpg --dearmor | sudo tee /usr/share/keyrings/homebridge.gpg > /dev/null
Adding the Homebridge repository
echo "deb [signed-by=/usr/share/keyrings/homebridge.gpg] https://repo.homebridge.io stable main" | sudo tee /etc/apt/sources.list.d/homebridge.list > /dev/null
Step 2: Install Homebridge
Update repositories:
sudo apt-get update
Install Homebridge
sudo apt-get install homebridge
Step 3: Installation complete – Login to the Homebridge UI
Through the Homebridge UI web interface, you can install, remove, and update plugins, modify the Homebridge config.json, and manage other aspects of your Homebridge service.
Log in to the web interface by http://<IP-Adresse>:8581.
The default user is admin with the password admin.
To find out the IP address of your server, you can do the following:
hostname -I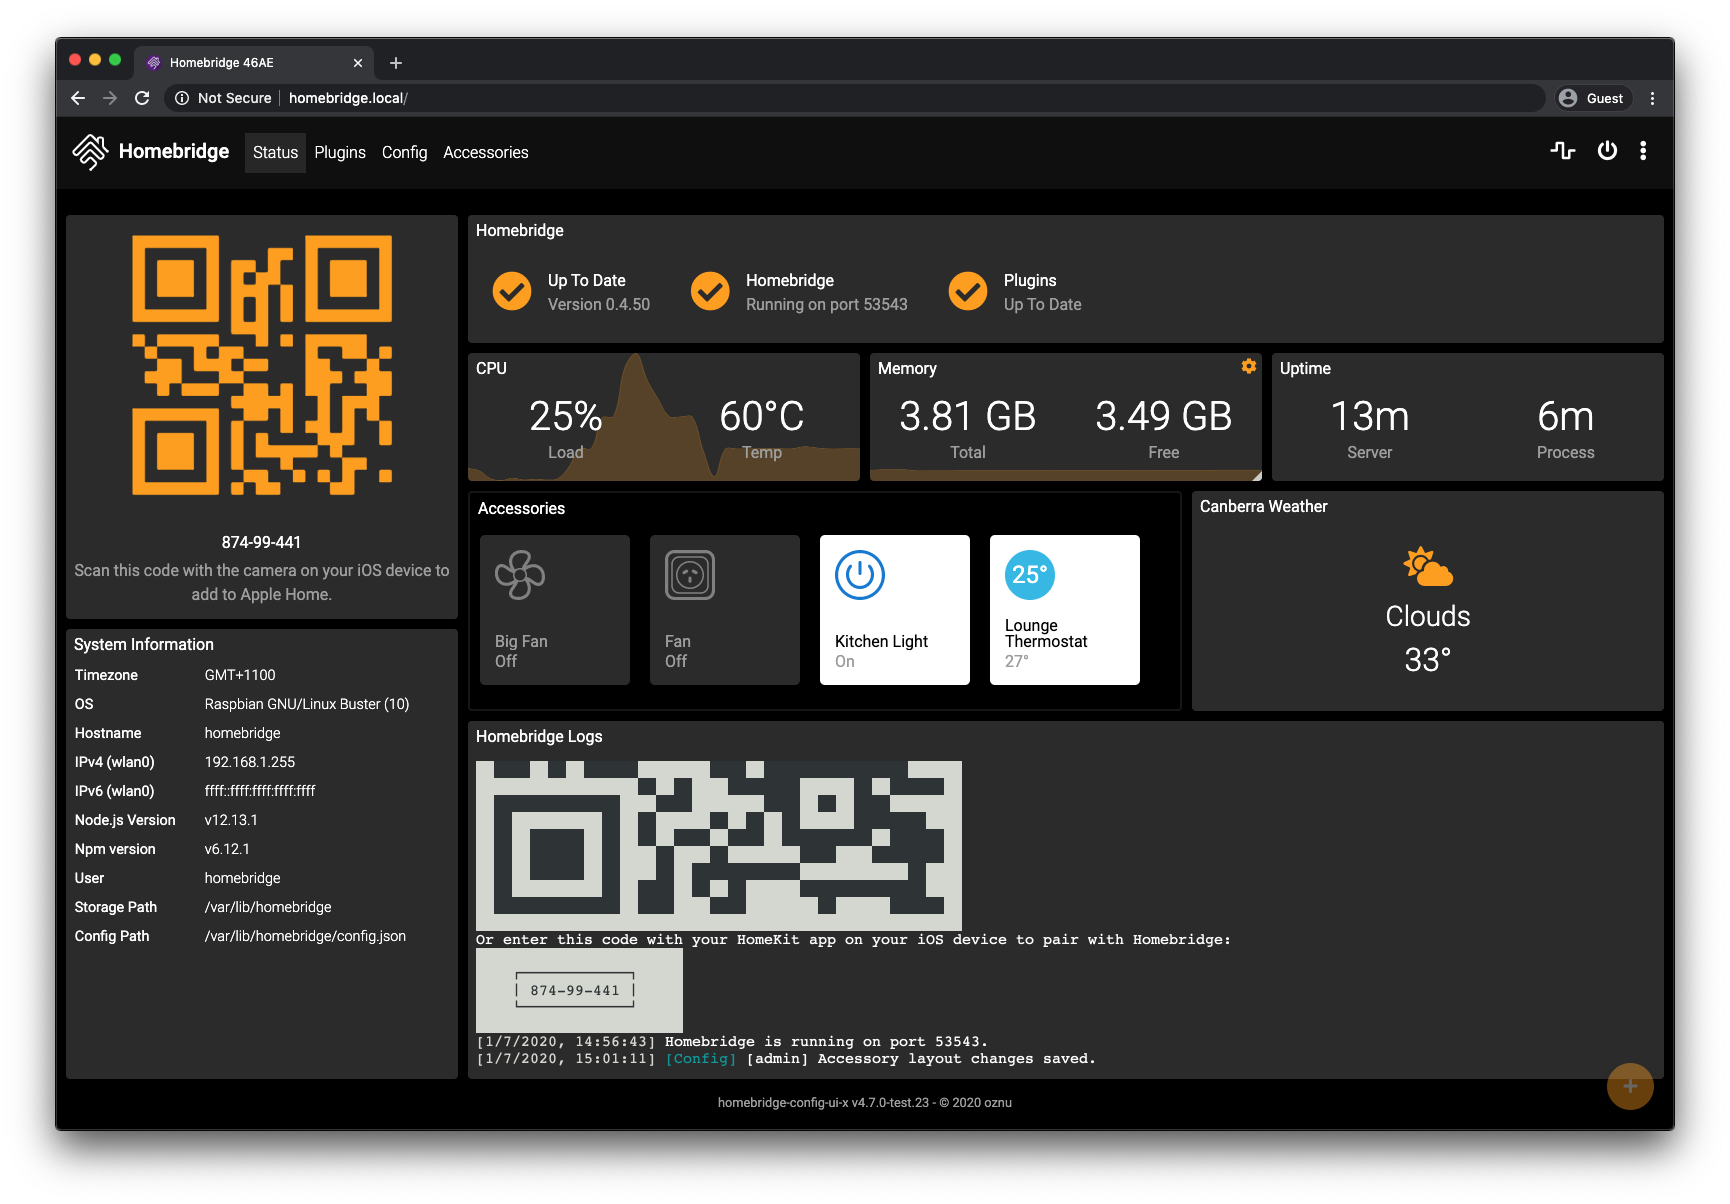
Step 4: Installing the air-Q Homebridge plugin
The air-Q Homebridge plugin can be found under the menu option “Plugins”.

With a click on “INSTALL”, the required files will be downloaded and a new configuration window will be opened
For this the serial number & the configured password of the air-Q is needed (The Raspberry Pi and the air-Q must be in the same network)
Under “Sensors made available to Homebridge”, you can select which sensors should be used for monitoring.
The update rate can be set via “Update Interval (in seconds)”.
Via “Add to your air-Qs”, multiple air-Q devices can be configured simultaneously

The Homebridge plugin must be restarted after that
The air-Q is found automatically by the plugin.
The Homebridge must now still be added to the iOS device via the “Home” app, using the QR code on the Homebridge home page.
To do this, simply press “Add Device” in the Home app and follow the steps.
Once the configuration is complete, the overview looks something like this


* Important: the volume is output via the measured value “lux”. Unfortunately, this is not otherwise configurable on the side of Apple.
For more information see: https://github.com/CorantGmbH/homebridge-air-q